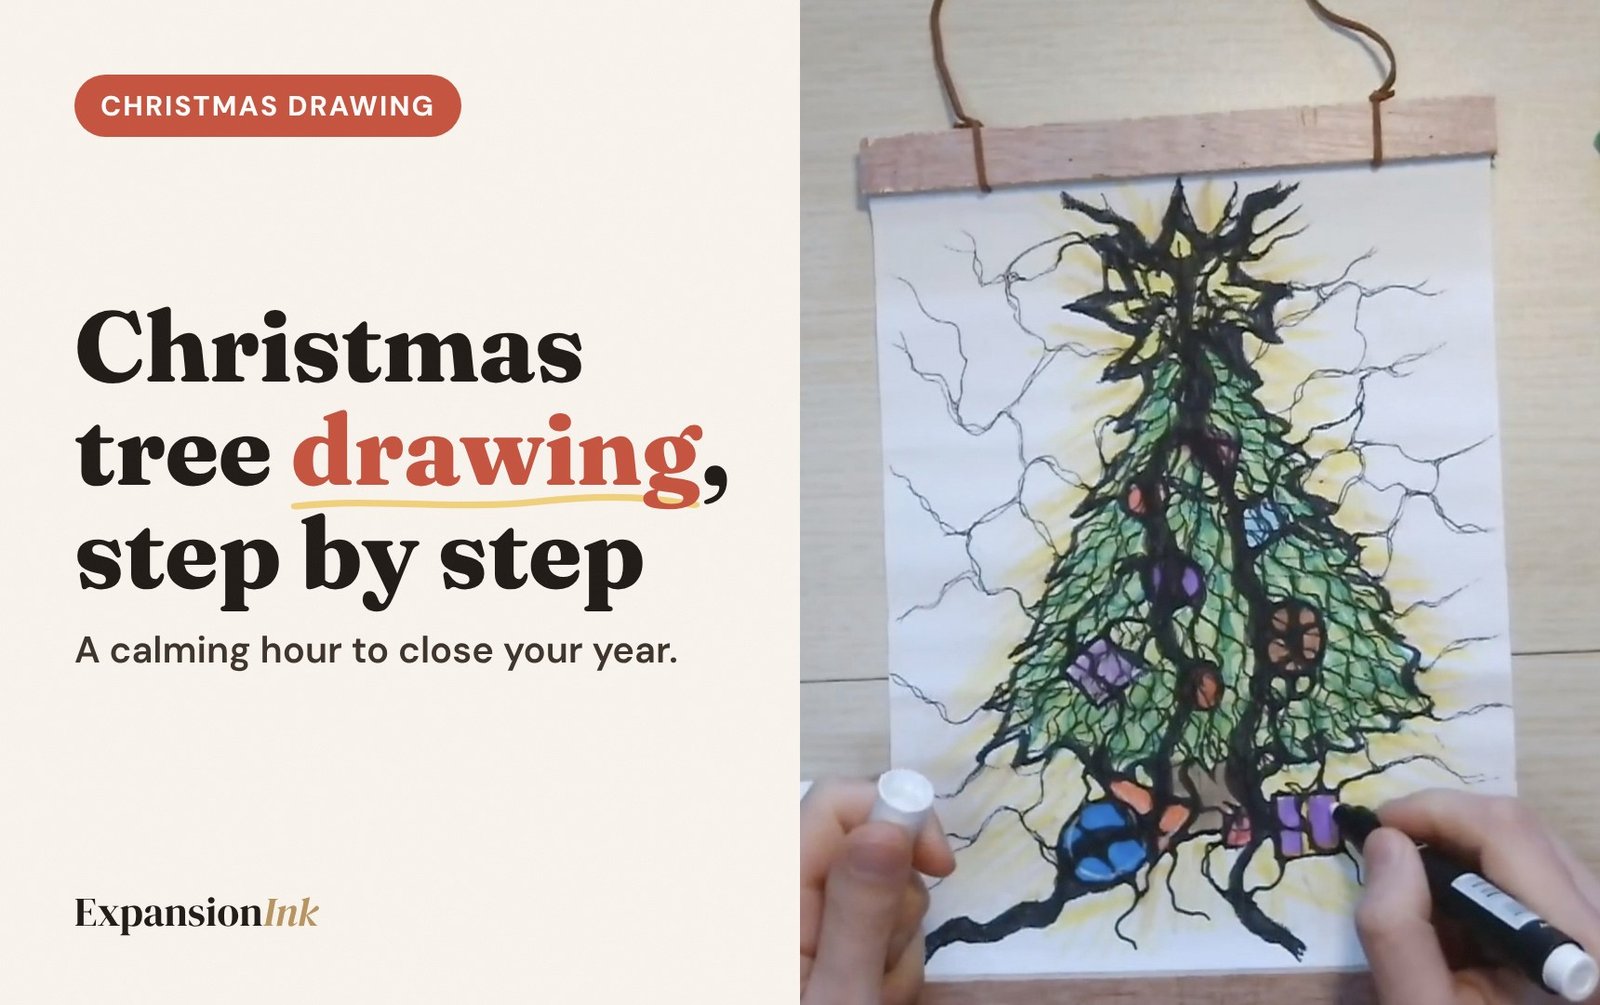
It’s the middle of December.
The calendar is full, the lights are up, the gifts are half wrapped.
And somewhere under all of it, the whole year is still sitting on your chest.
You don’t need one more thing to do this Christmas. You need an hour that is only yours.
This Christmas tree drawing is that hour.
A black marker, a sheet of paper, a few colors. Slow lines, one step at a time.
Below you’ll see every step from my own drawing, so you can follow along even if you haven’t drawn anything since school.
How do you draw a Christmas tree, step by step? Outline a soft triangle with a small trunk, fill it with slow flowing lines, add ornaments and a star, round every sharp corner, then color it. This easy Christmas tree drawing takes about an hour, needs only paper, a black marker and a few colors, and works even if you’ve never had an art lesson.
✨ Prefer to draw it with me? The free Neurographic Christmas Tree workshop is a short video where I walk you through it, step by step.
Why a Christmas tree drawing, and why this year?
Because a slow Christmas drawing gives the year a clear ending, and a tree is a shape you already connect with home, growth and light.
Some years end with a bow on top.
Others end with you just trying to get to the 24th in one piece.
Either way, a year is a lot to carry. The wins, the worries, the things that didn’t happen, the people who aren’t at the table anymore.
Most of us never stop to put it down. We just roll it straight into January.
A tree is a good shape for that moment.
Roots, a trunk, branches, a light on top. It’s a picture of growth that everyone recognizes, and it already means “home” and “celebration” to most of us.
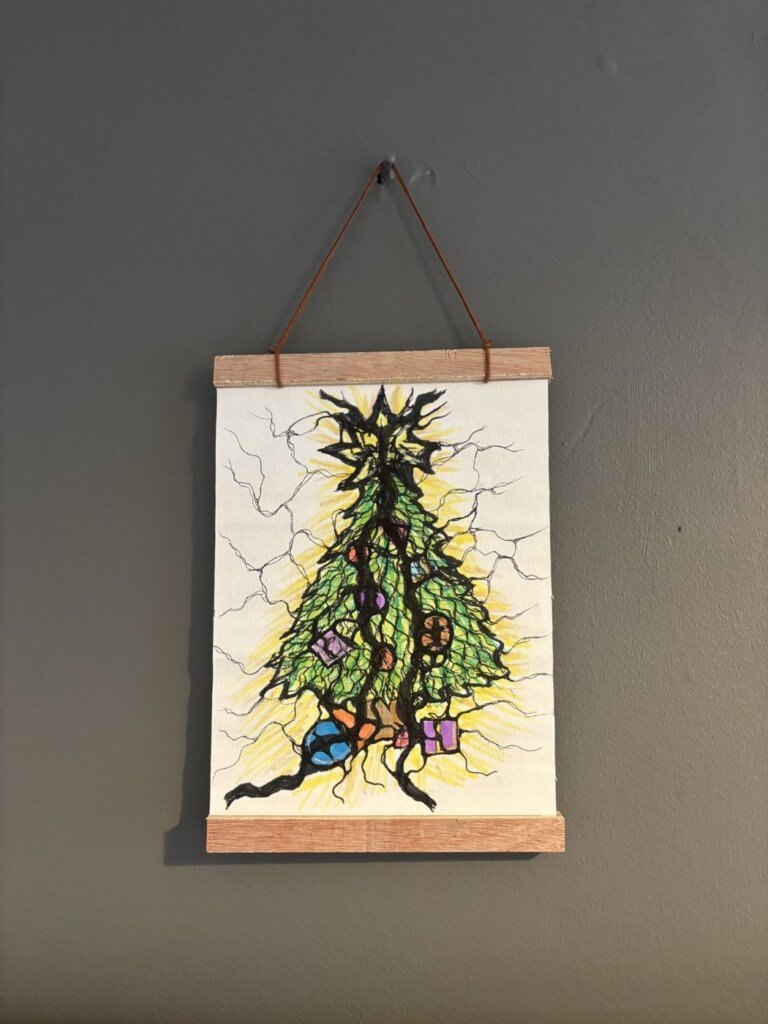
When you draw it slowly, with lines that wander and corners you soften, something else happens too.
Your breathing slows down. Your shoulders drop. Your attention lands on the page instead of the to-do list.
One study found that 45 minutes of making art lowered stress hormone levels in most participants, whatever their art experience (Kaimal et al., 2016).
That’s why I call it a ritual and not a craft project.
👉 You’re not decorating paper. You’re giving the year an ending.
If this year left you more tired than you expected, my post on how to complete the stress cycle explains why your body needs that ending, not only your calendar.
What makes this an easy Christmas tree drawing?
You don’t need to be an artist, have a steady hand or learn to draw first to draw a beautiful tree.
This is a neurographic Christmas tree, drawn with Neurographica, a drawing method built on slow, flowing lines and soft, rounded corners.
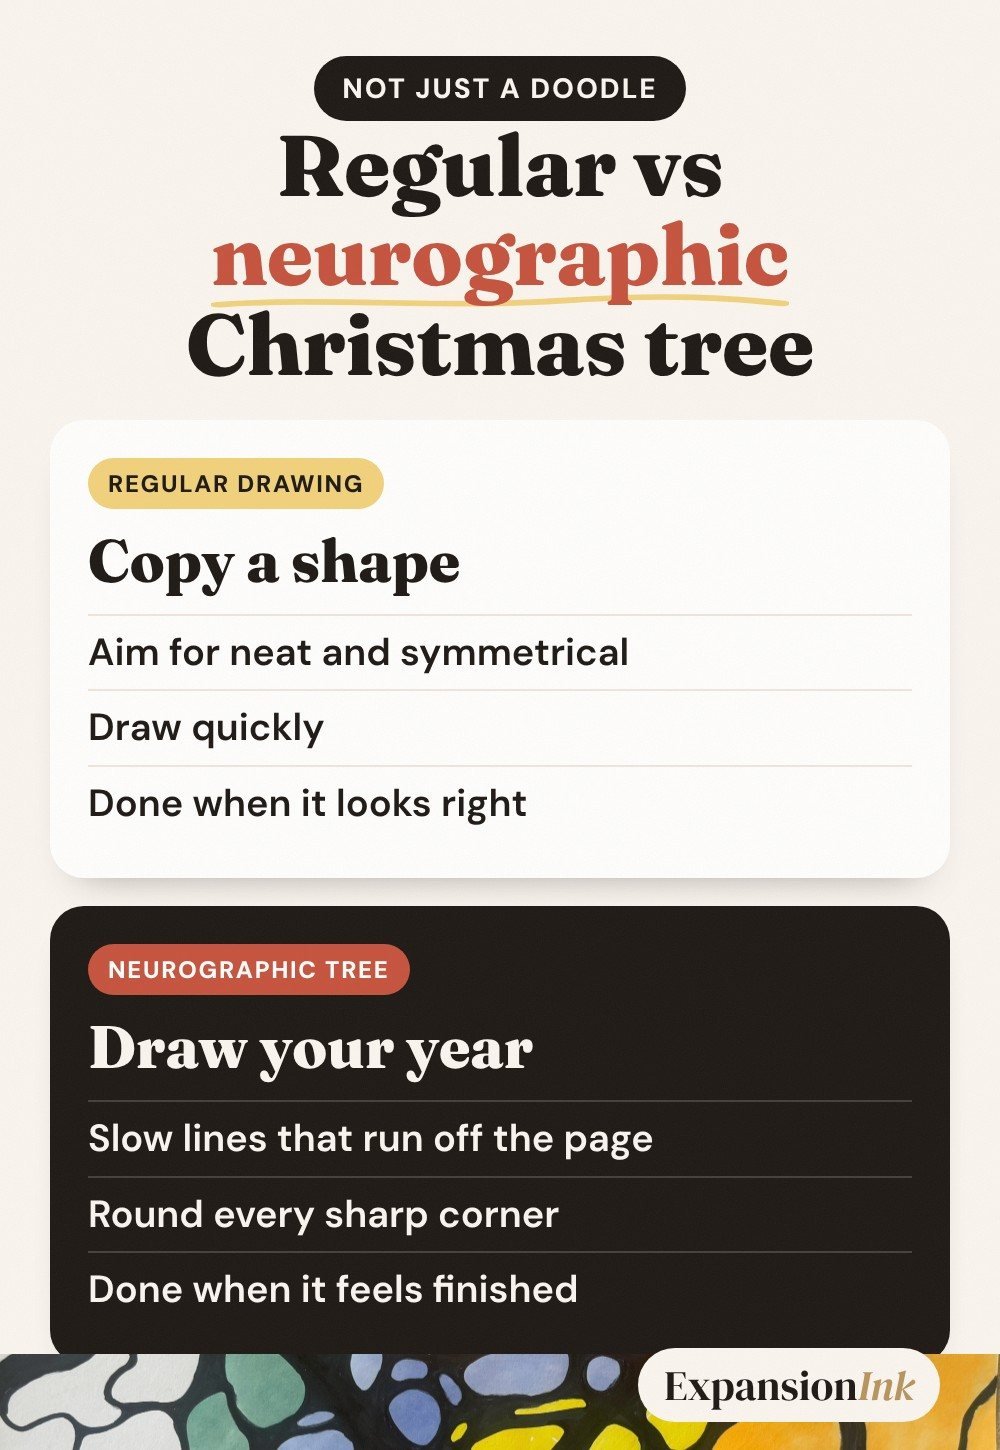
In a regular drawing you try to copy something and make it neat.
Here, the line leads and you follow it. The tree grows out of the process.
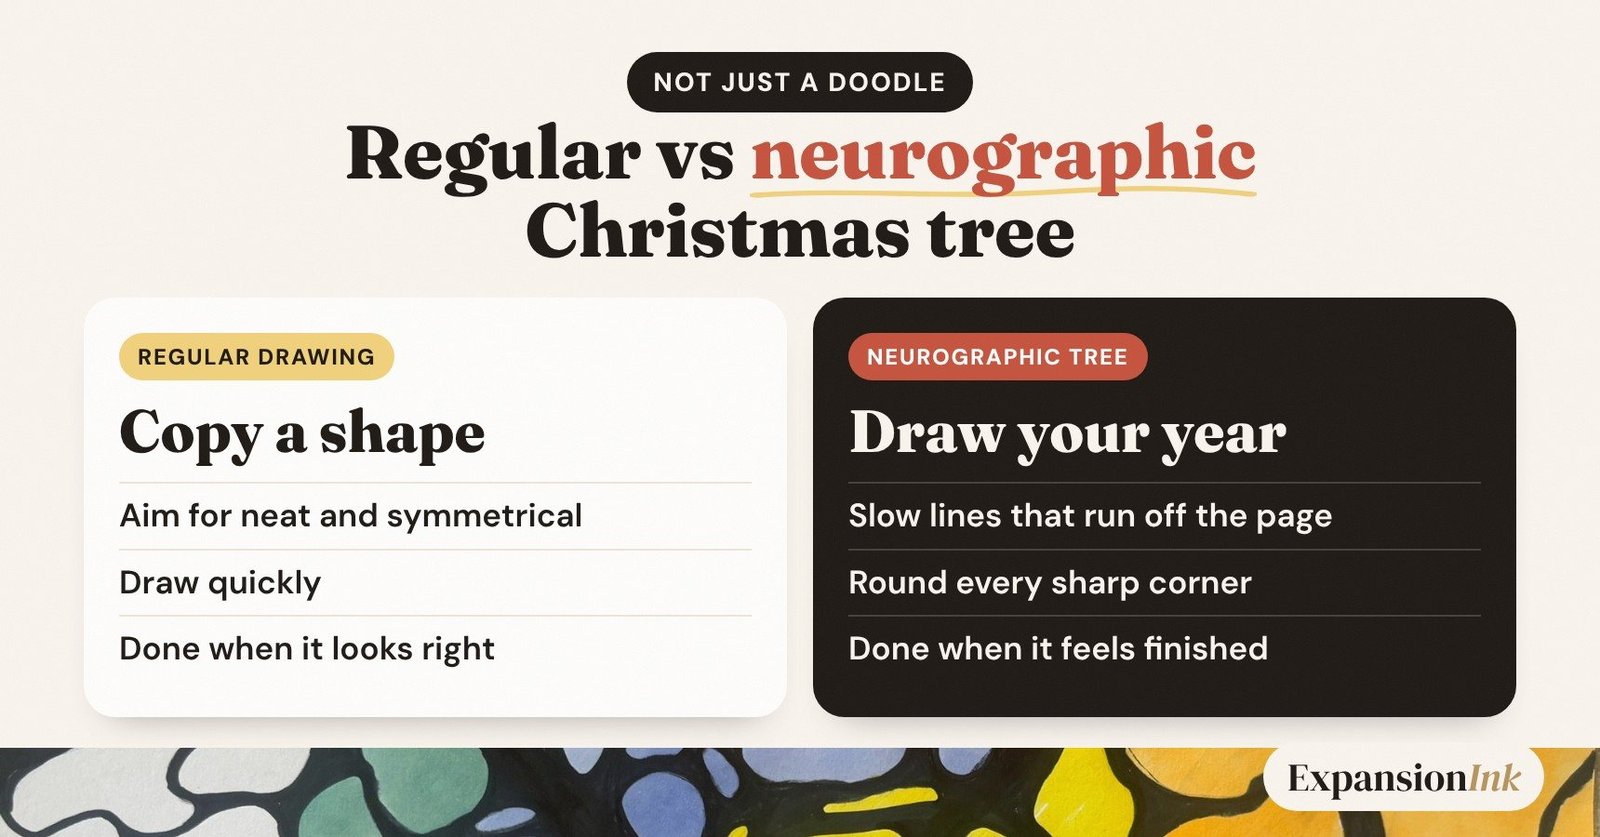
That doesn’t mean anything goes. Beauty is part of this.
But if you’re trying to control it from the first stroke, you’re in your head, not in the drawing.
Let it unfold before you judge it.
If you’ve never tried this kind of line before, my guide to neurographic lines shows you how to draw one in a couple of minutes.
And if you’re curious why it calms people down, here’s how Neurographica works.
How is this different from a cute Christmas tree drawing tutorial?
Most Christmas tree drawing tutorials teach you to copy a cute, cartoon-style tree. This one uses the drawing to slow you down and look back at your year.
Search for an easy drawing tutorial on YouTube and you’ll find hundreds of them. Many are made for children: a zigzag pine tree, a few dots of snow, a smiling star. They’re cute drawings, and a good way to learn how to draw simple shapes.
But if you’re an adult at the end of a long year, you probably don’t need another lesson in copying.
You need a reason to sit down and breathe.
So this step-by-step guide works a little differently:
- No sketch to copy. You start from a soft triangle and let the lines grow the tree.
- No artistic skill needed. It’s a drawing for beginners and for anyone who hasn’t held a marker in years.
- A question in the middle of it. Every ornament holds something from your year.
You still end up with a colorful, festive illustration you’ll want to hang up, not a printed coloring page. Easy and beautiful in its own way.
👉 The calm is the part you keep.
What you need for your Christmas tree drawing
Keep it simple. You probably have most of this in a drawer already.
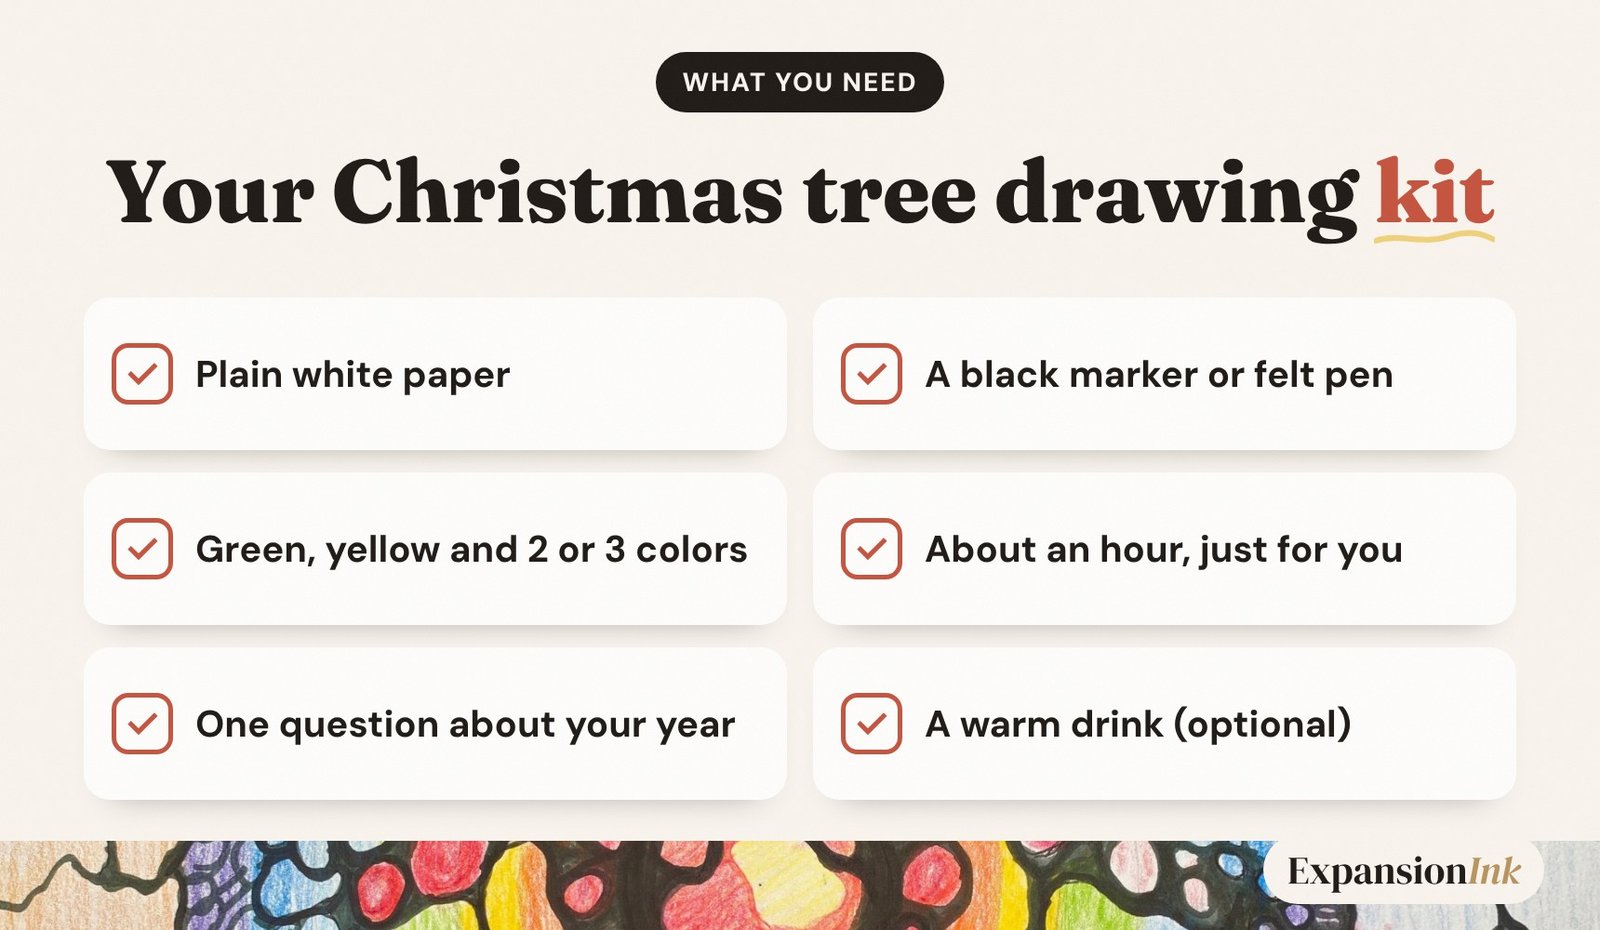
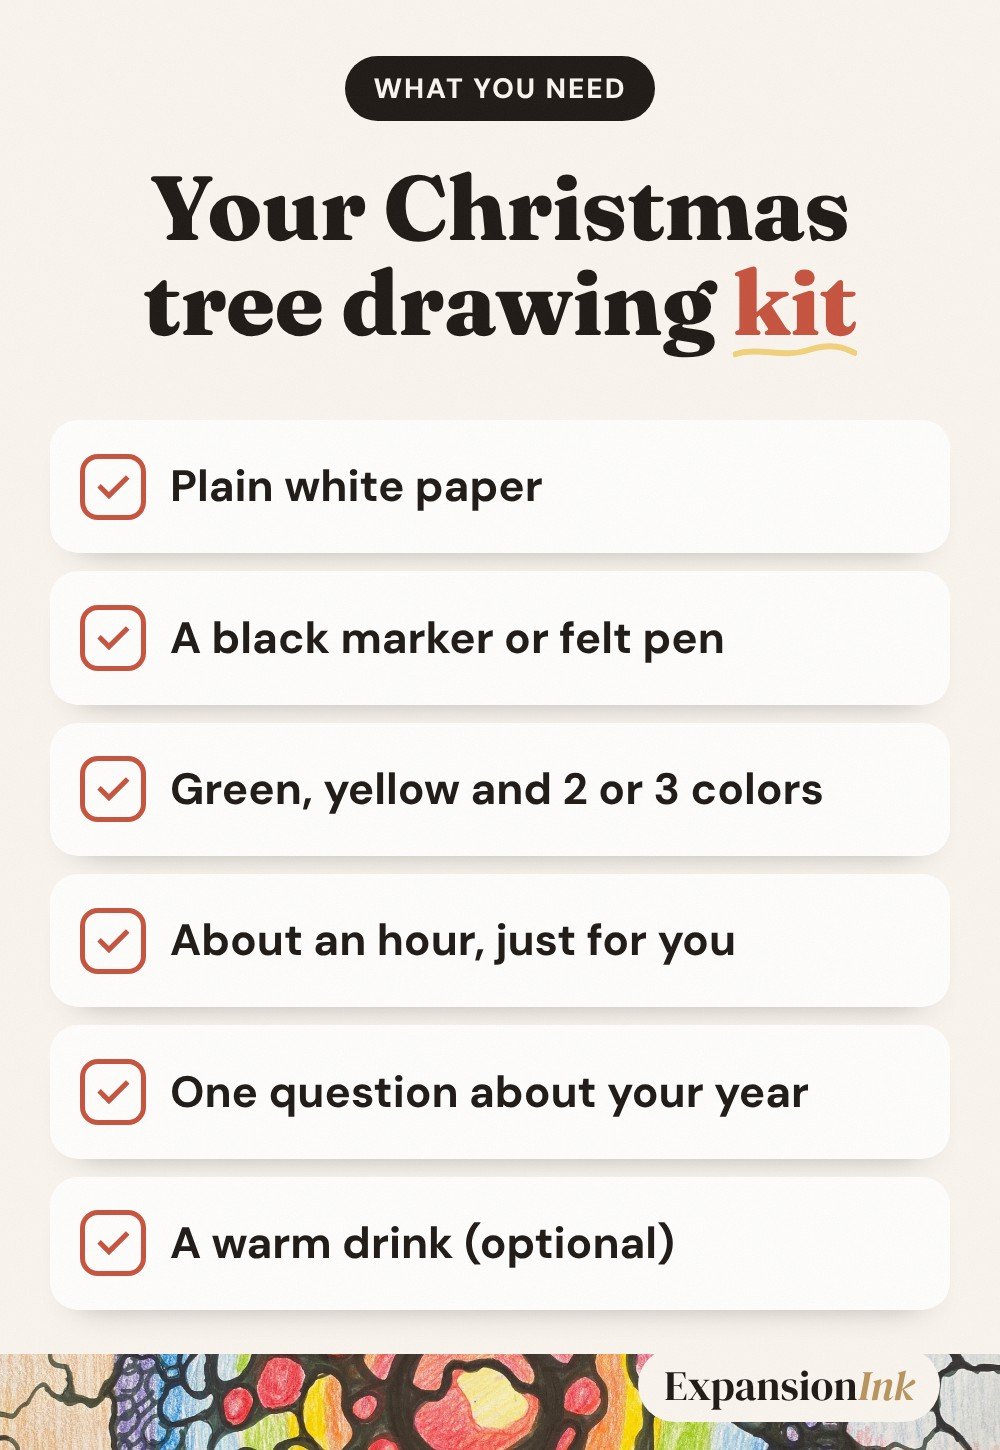
- Plain white paper. Printer paper is fine. A thicker sheet takes color better.
- A black marker or felt pen. A medium tip for the main lines, a thicker one if you have it.
- Colors: a green, a yellow, and two or three colors for ornaments and gifts. Markers or colored pencils both work.
- About an hour, just for you. Phone face down, door closed if you can.
And one more thing: a question about your year.
Before you start, ask yourself something simple, like “What do I want to carry into next year?” or “What am I ready to put down?”
You don’t need to answer it in words. You’ll answer it on the tree.
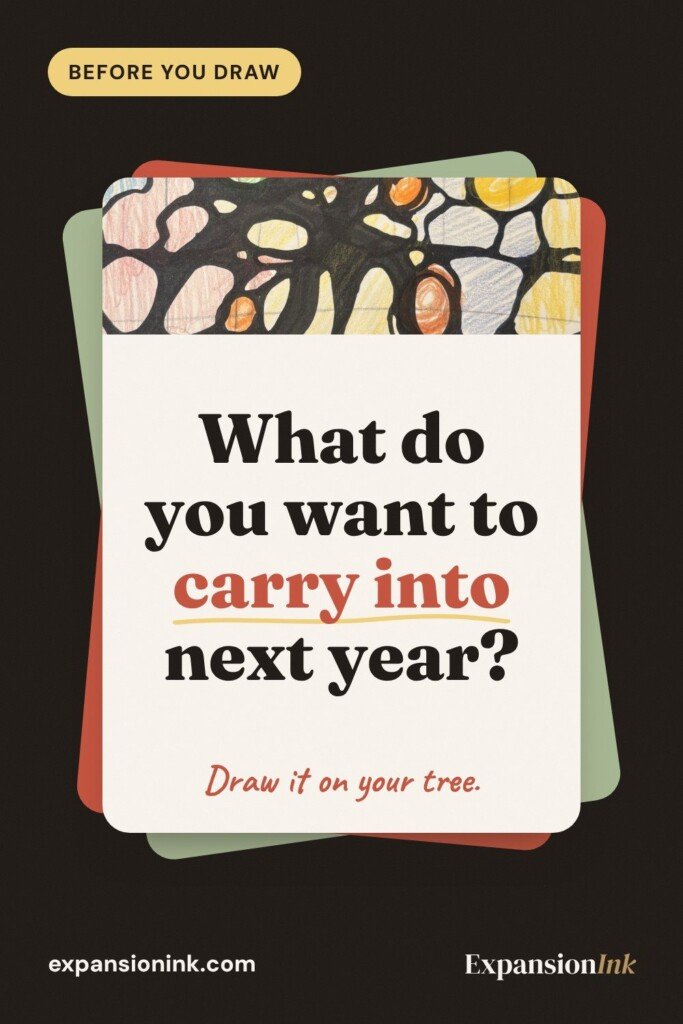
👉 Write your question at the top of the page in pencil, or just keep it in mind as you draw.
How to draw a Christmas tree, step by step
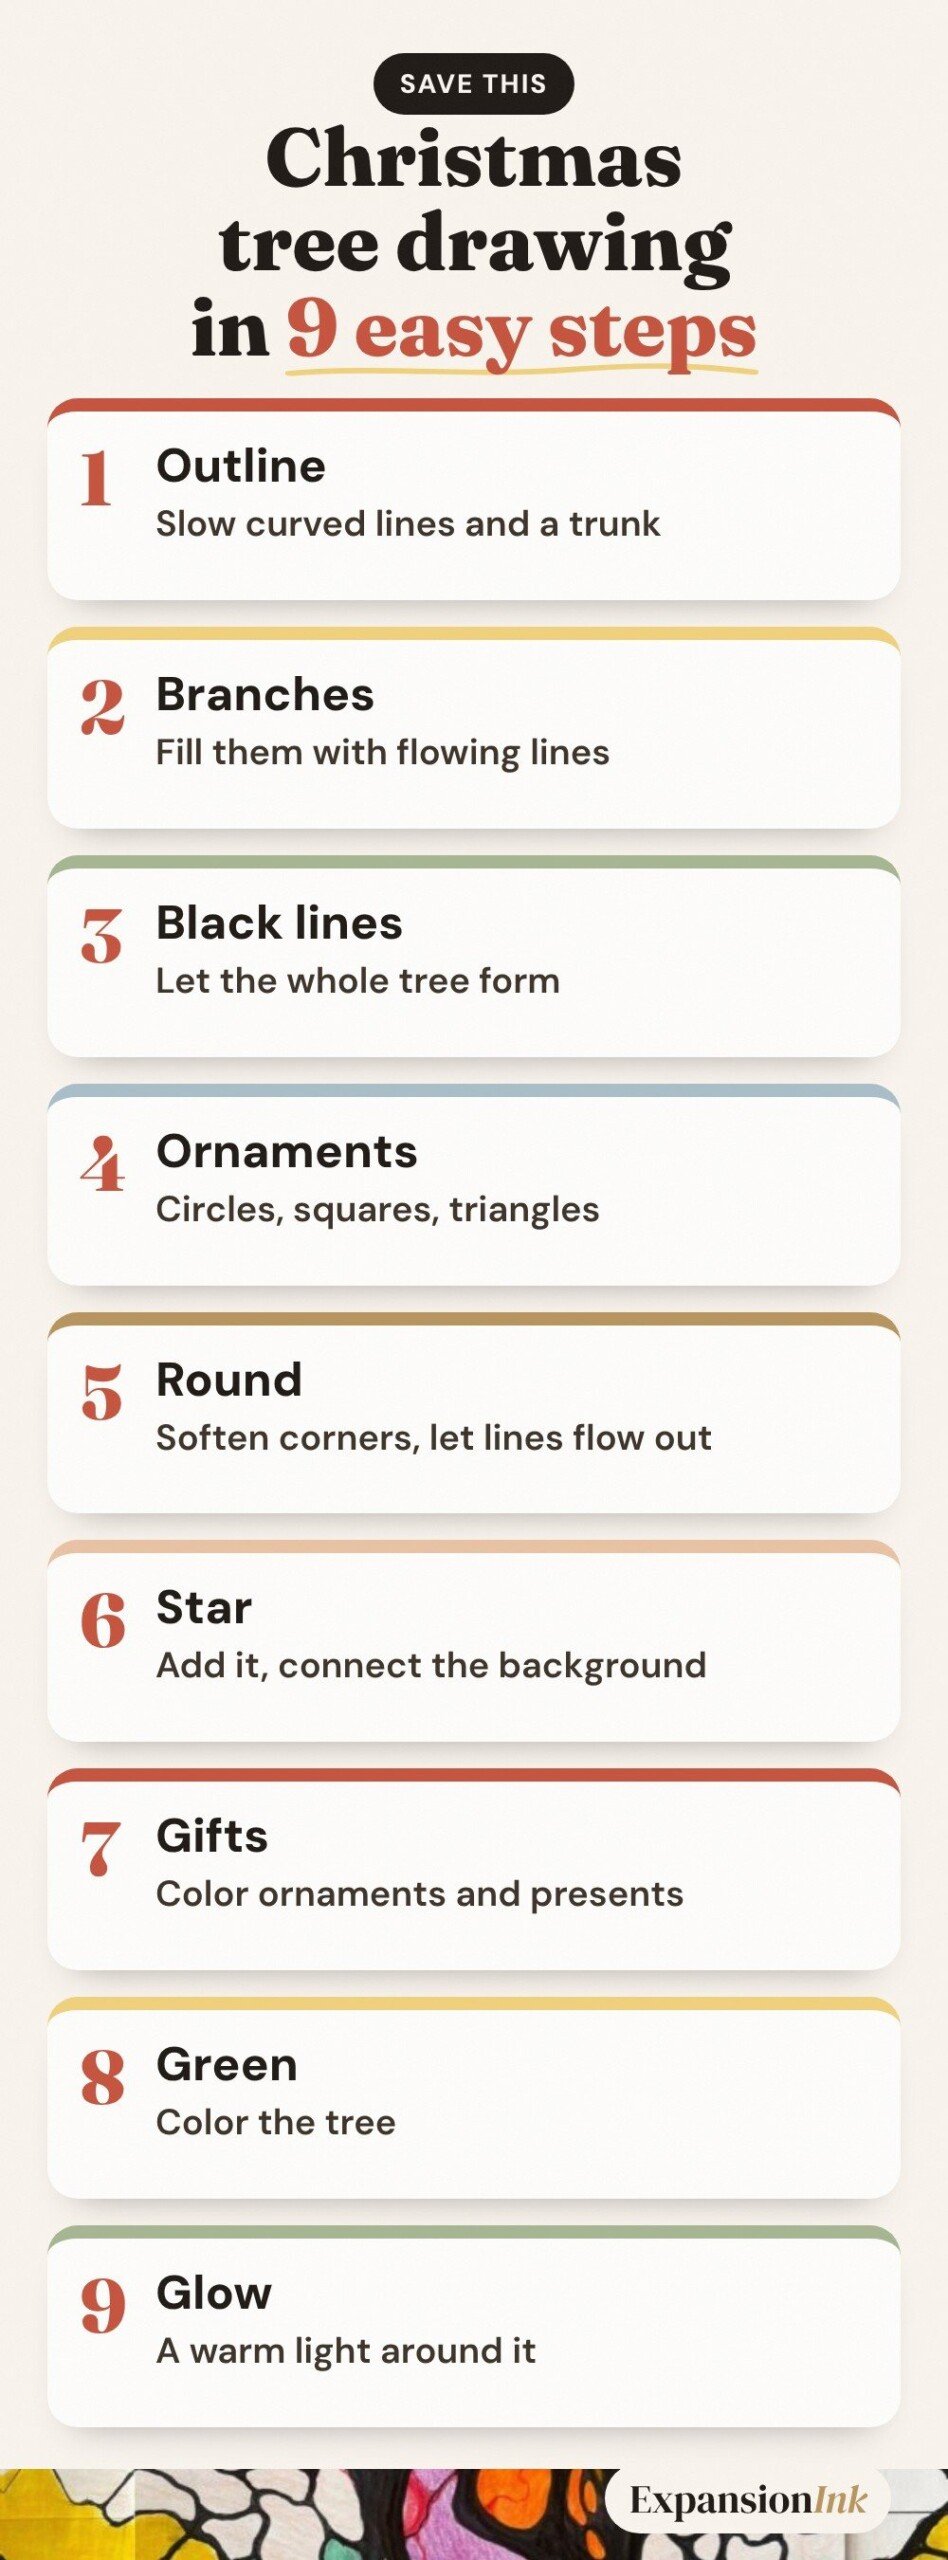
Here’s the whole process at a glance. Save it if you want to come back to it on Christmas Eve.
Every photo below is a frame from my own drawing, so you can see exactly what each step looks like on real paper. It’s laid out step by step for beginners, with no learning curve.
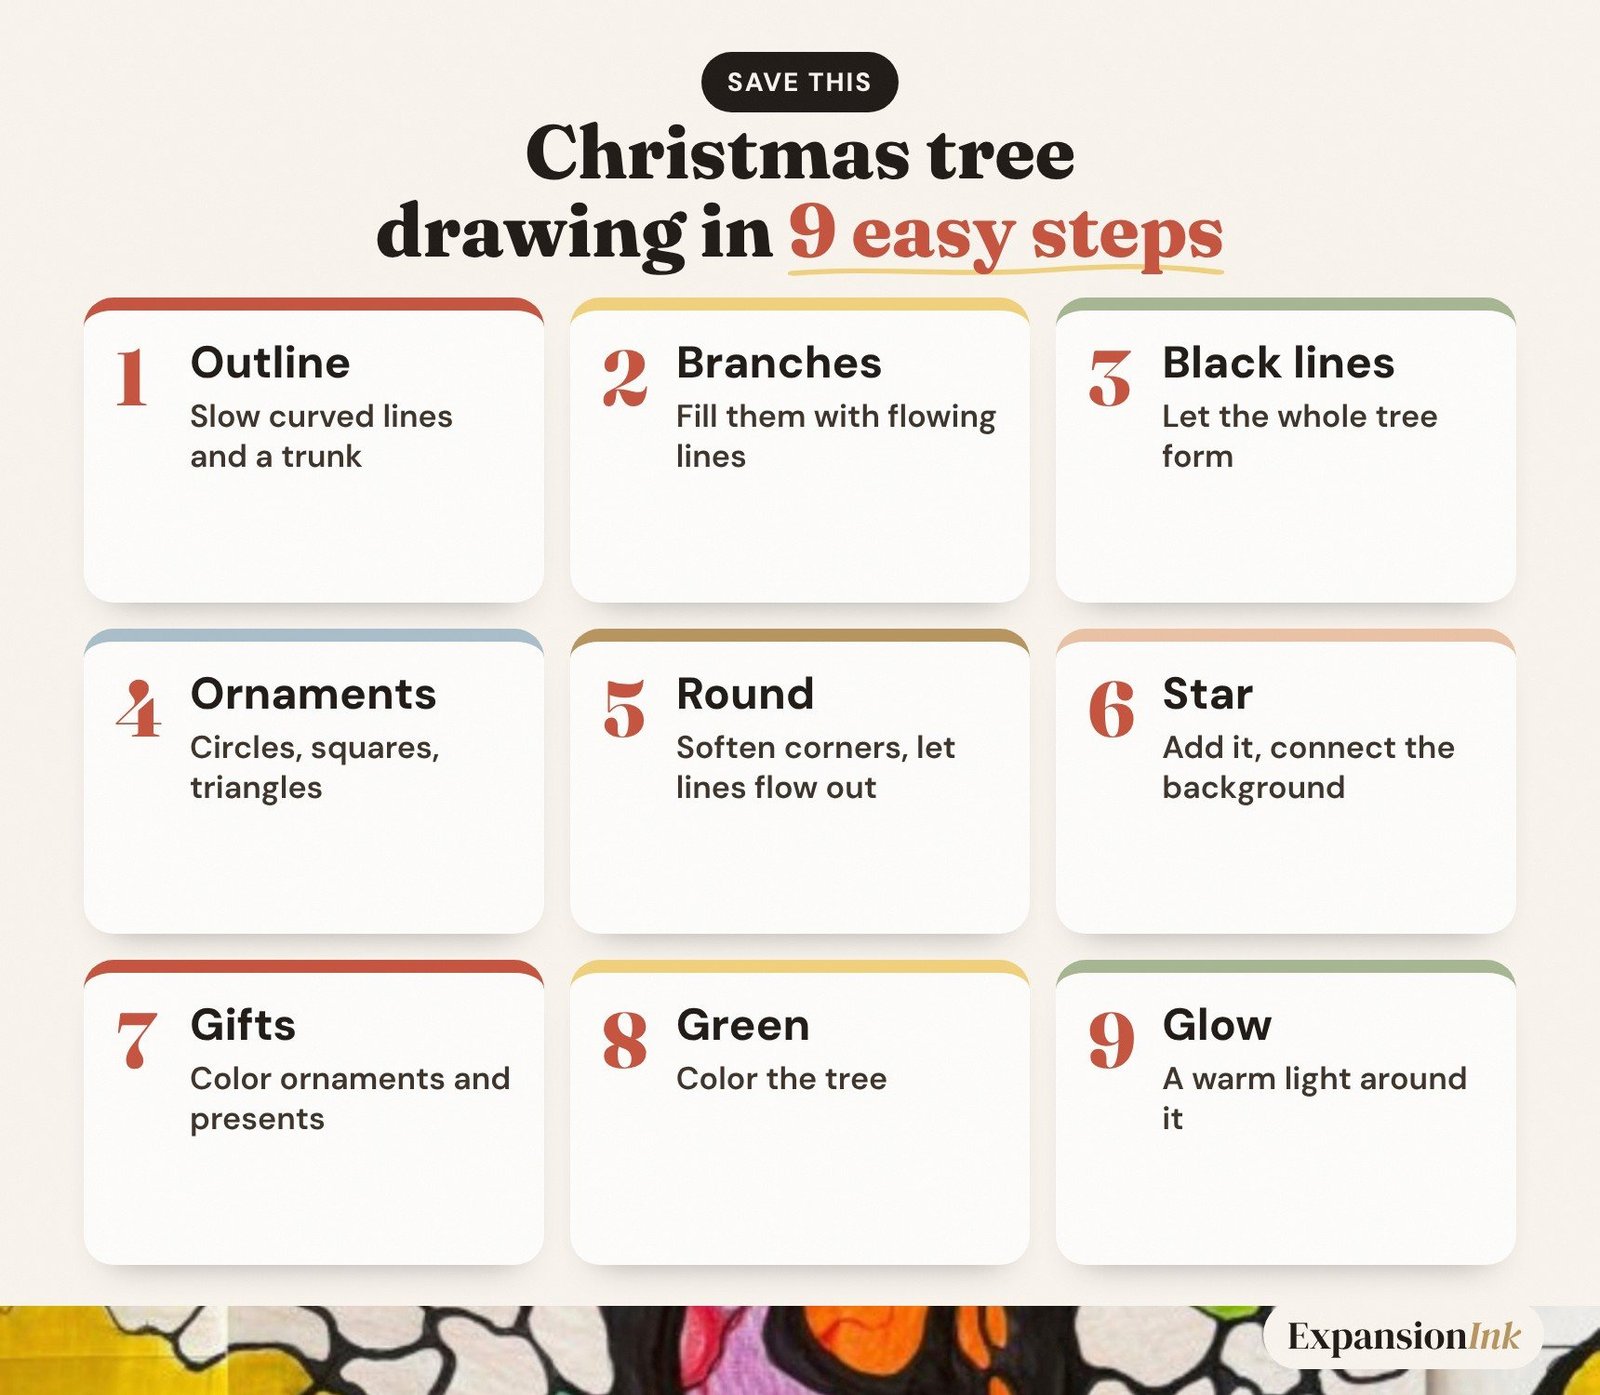
Go slowly. If a step takes longer than you expected, that’s fine.
The pace is part of what calms you.
Step 1: Outline the tree with slow, curved lines
Draw a simple triangle shape for the tree, but don’t use a ruler and don’t make it straight.
Let the sides curve a little. Add a few curved lines across it, like the edges of branches, and a small trunk at the bottom.
Draw slowly enough that your eyes can follow the tip of the marker the whole way.
If a blank page makes you nervous, make a faint pencil sketch of the triangle first, then go over it with the marker.
The marker line is where the calm happens.
Step 2: Fill the branches with neurographic lines
Now fill the tree with small, wandering lines that cross each other. Think of a net, or the veins of a leaf.
No pattern, no repeating shapes. Let each line go where it wants.
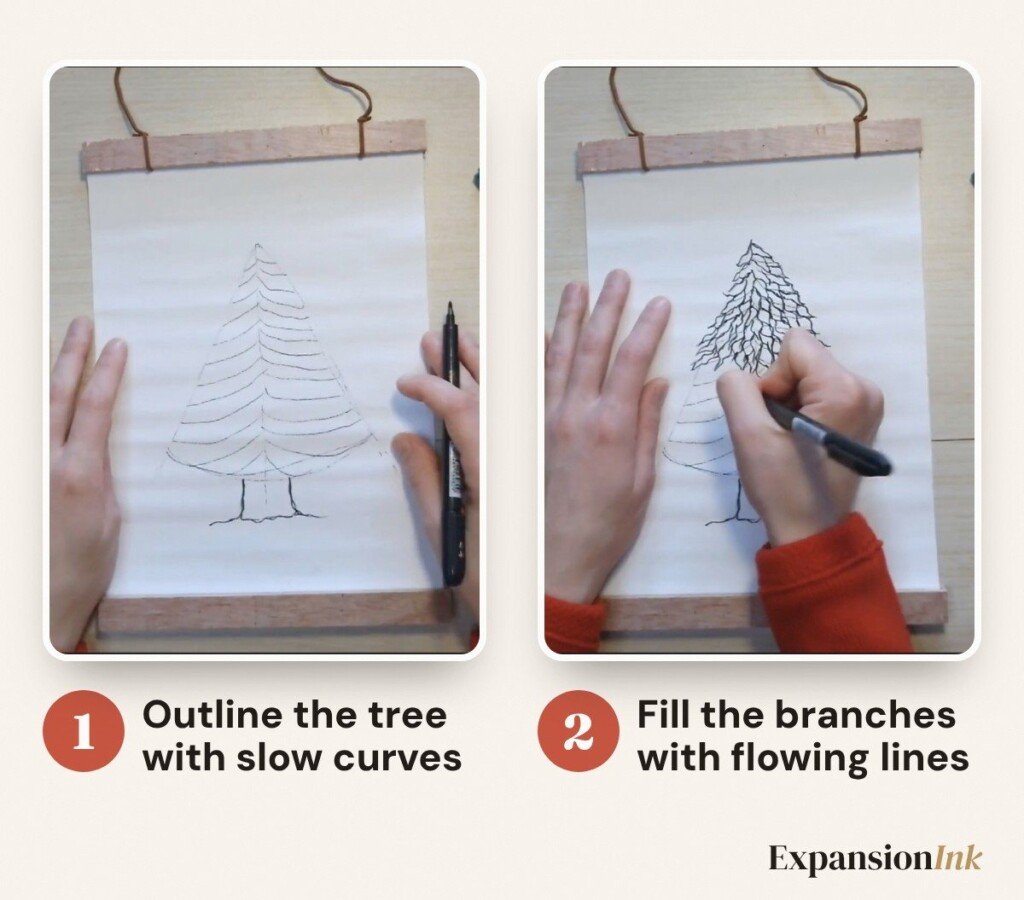
This is the part where most people notice their breathing change.
The hand moves slowly, the mind has one simple job, and the noise of the day gets a little quieter.
👉 If your mind wanders to the shopping list, notice it, and bring your eyes back to the tip of the marker.
Step 3: Let the whole tree form in black lines
Keep going until the whole tree is filled with lines.
Some areas will be denser, some lighter. That’s what gives it life.
Step 4: Add circles, squares and triangles as ornaments
Now draw a few ornaments right over the lines: circles, squares, triangles. Five to nine is plenty.
Here’s where your question comes in.
Let each ornament stand for something you want to keep from this year, or something you want to welcome into the next one. A circle for rest. A square for a project you finished. A triangle for a person you love.
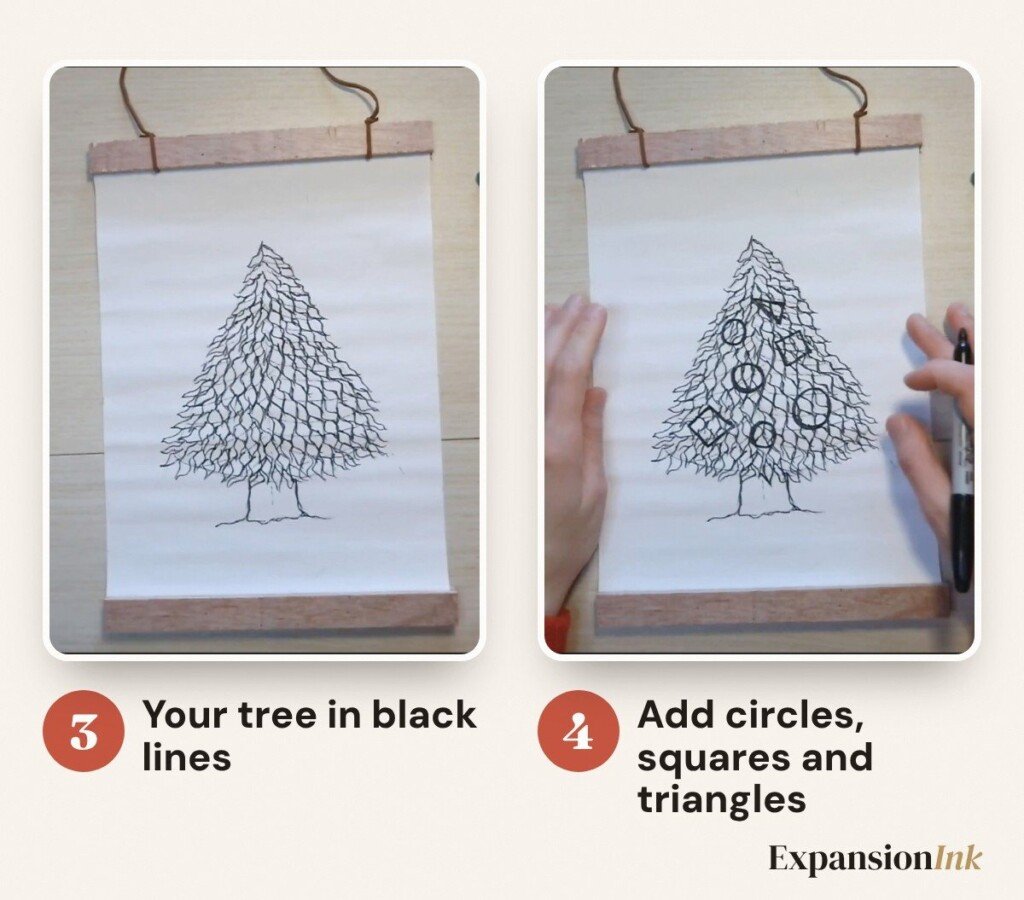
You don’t need to draw Christmas tree ornaments that look real, and you don’t have to label them. You’ll know which is which.
Every ornament is a small decision about what you take with you.
Step 5: Round the corners and let lines flow out of the tree
Look for every place where lines meet at a sharp angle, and soften it with a small curve so it looks rounded instead of pointed.
In Neurographica this is called rounding, and it’s the heart of the method.
Then let a few thick lines flow out of the tree: down from the trunk like roots, out from the gifts, toward the edges of the paper.
Make them a little bolder so the tree feels grounded.
Step 6: Add the star and connect the lines into the background
Draw a star on top. It doesn’t need five perfect points. Mine has rays that bend.
Then draw a few thin lines across the background, from the tree out to the edges of the page.
This connects your tree to the space around it. It stops being an object floating on paper and becomes part of a bigger picture.
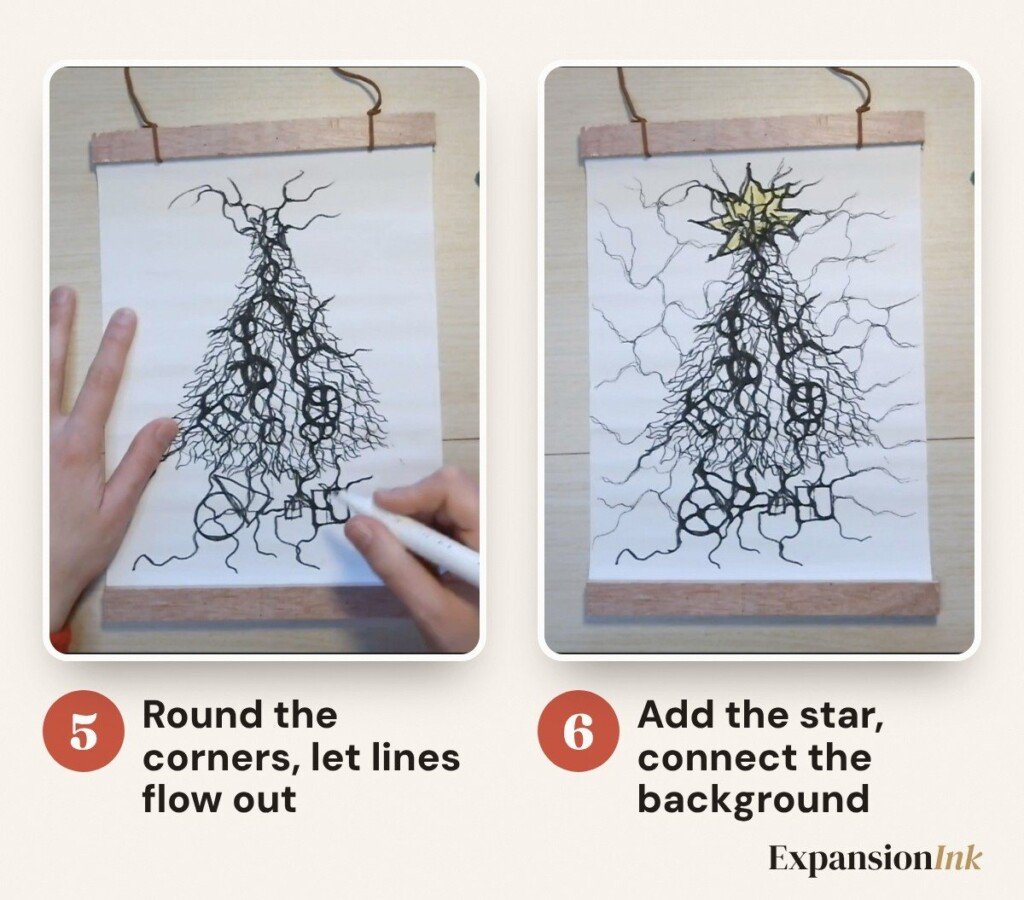
Many people pause here and look at the drawing for a while.
Let yourself do that. It’s often the moment the year feels a little lighter.
I came to this work because stress was running my life in 2021: headaches, tension, broken sleep. Slow drawings like this one were the first thing that actually helped my body let go.
I’ve since supported 1,000+ people to make that same kind of shift, none of them with any art background.

Free workshop
Draw your Christmas tree with me
A free guided Neurographic Christmas Tree workshop. Reflect on what you want to welcome into 2027 and draw it, step by step. No drawing experience needed.
Free. You’ll also get emails from me. Unsubscribe anytime.
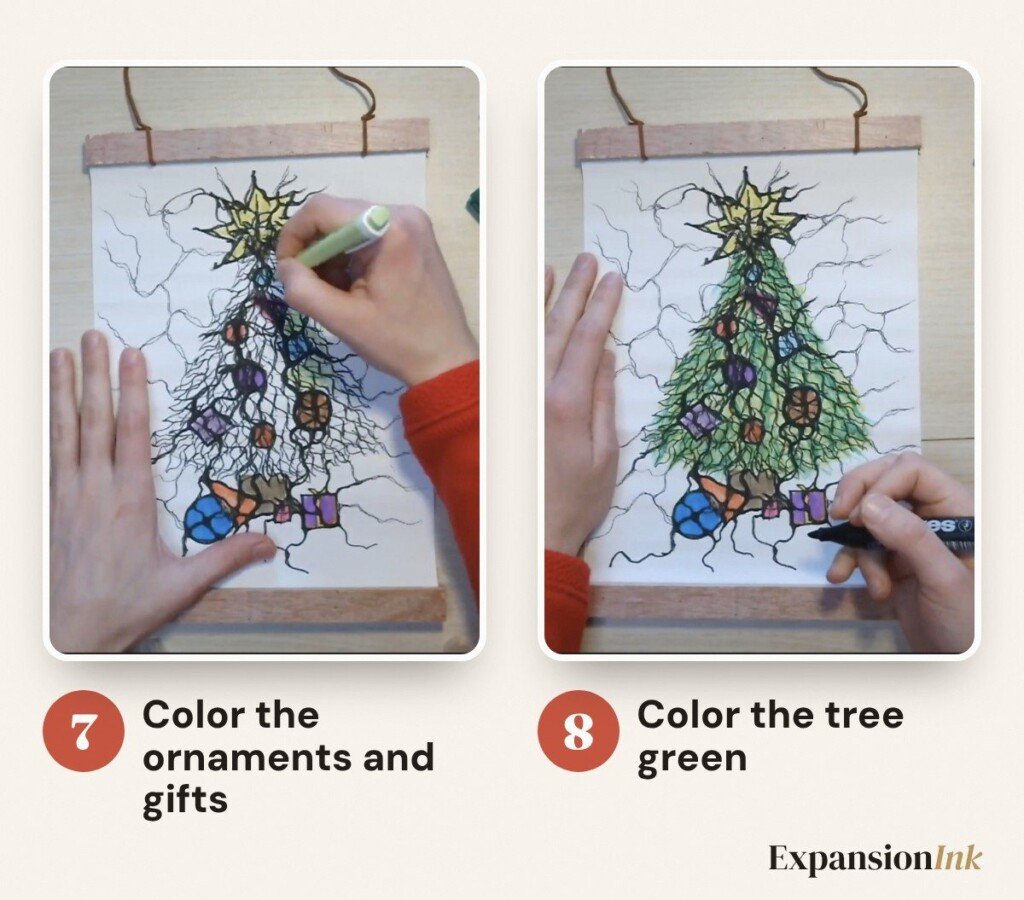
Step 7: Color the ornaments and gifts
Now the fun part. Pick two or three colors for the ornaments and the gifts under the tree.
Choose colors that feel good to you today, not the colors you think a Christmas tree “should” have.
Need help choosing? My free Color Guide explains what different colors can bring into a drawing.
Step 8: Color the tree green
Fill the tree with green. To shade it, use two greens: a darker one near the trunk and along the edges, a lighter one in the middle.
Leave a few gaps where the white paper shows through. It keeps the tree light.
Coloring is slow and repetitive in a good way.
👉 Use this time to think about the ornament you colored last. What does it hold for you?
If you feel emotional here, that’s normal. December does that.
Let it be part of the drawing.
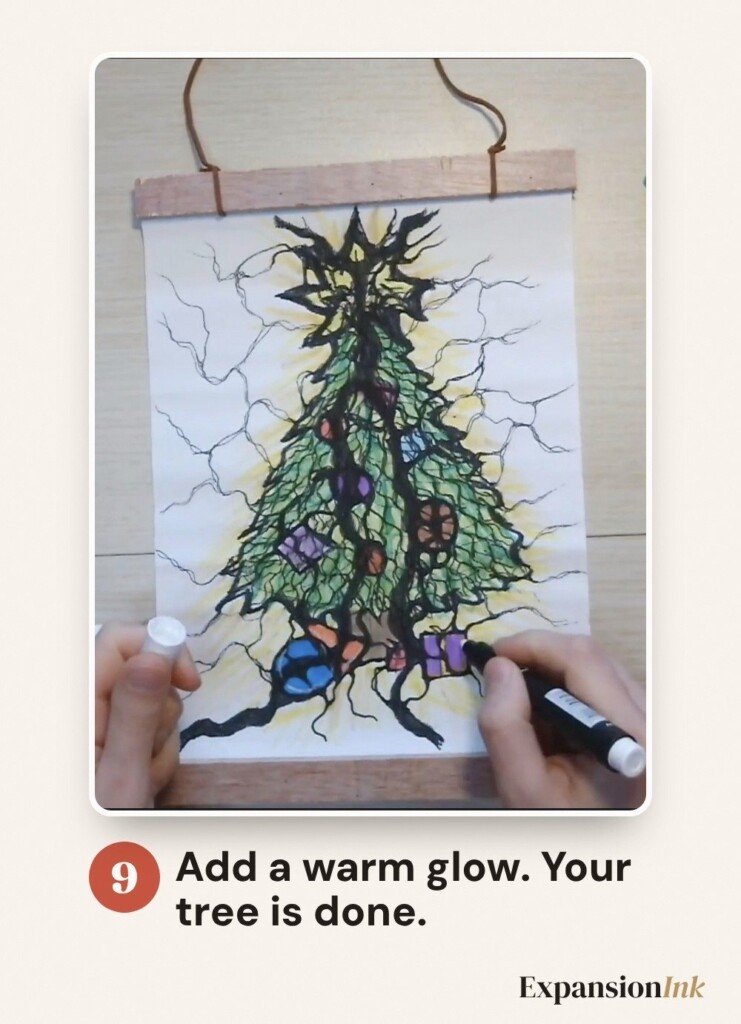
Step 9: Add a warm glow
Finally, take a yellow or soft gold and color lightly around the outside of the tree, like light spilling from it.
That’s your tree. Finished.
Sit with it for a minute before you put it away.
Notice how your body feels now compared to an hour ago.
The year doesn’t have to be perfect to end well. It just needs an ending.
How to turn this Christmas drawing into a holiday ritual
Draw the same tree every December and it becomes a tradition that shows you how your years change.
One simple drawing is lovely. A tradition is even better.
- Draw it on the same day every year. The first Sunday of Advent, the winter solstice, Christmas Eve. Pick one and keep it.
- Draw together. With your kids, your partner, a friend on a video call. Everyone draws their own tree, then you share one ornament each.
- Hang it up. Tape it to the fridge or the window. Let it be part of the decorations, holiday art you made yourself.
- Keep them. Put this year’s tree in a folder. Next December, look back at it before you draw a new one.

That last one is my favorite.
When I look back at old drawings and notes from my first years with this work, I can see the intentions I set, like more consistent sleep, movement and rest. And I can see how those things quietly came to life.
Your tree can do the same for you.
👉 Date it on the back, and write one word for the year you want next.
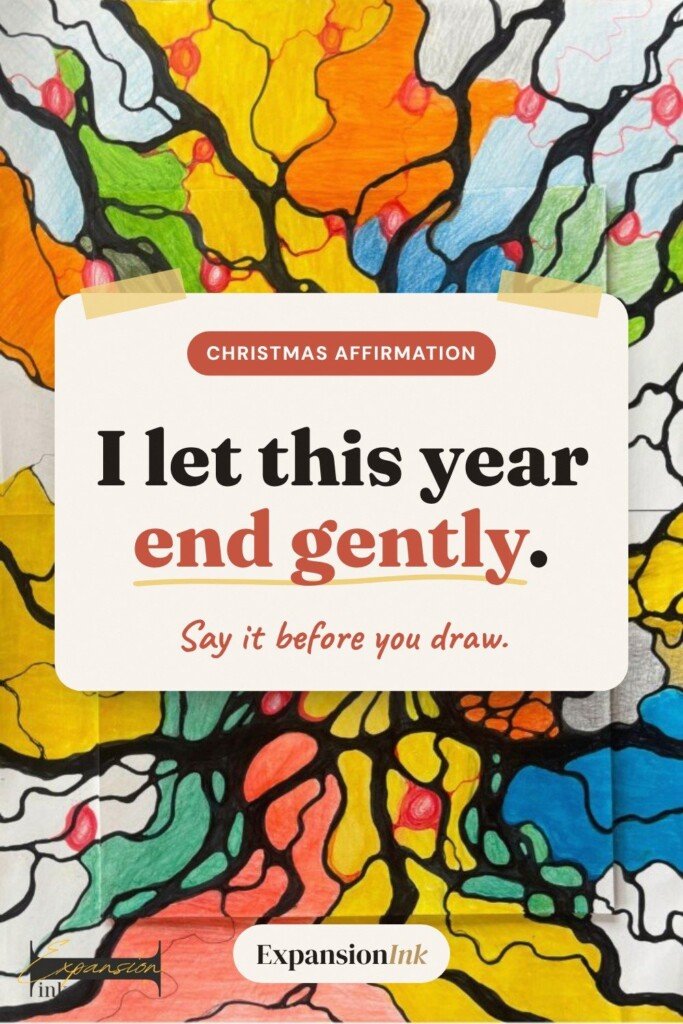
Say that line to yourself before you start drawing.
It sounds small. But many of us never give ourselves permission to end a year gently.
What other easy Christmas tree drawing ideas can you try?
You can keep the same slow method and change the scene around your tree each December. Here are a few styles and winter drawing ideas to keep it fresh:
- A pine tree in the snow. Let the background lines turn into falling snow or a soft hill.
- A tree full of lights. Swap some ornaments for small circles of light along the flowing lines.
- Holly and a bigger star. Draw a few holly leaves around the trunk, and round their sharp points too.
- Two trees side by side. One for the year that’s ending, one for the year you want next.
Whatever you pick, keep the Christmas tree easy. The method stays the same (slow lines, rounded corners, one question), and only the tree changes with you.
Look at last year’s tree for inspiration before you start.
Give a workshop, or keep one for yourself
If someone in your life is running on empty this December, an evening with a guided drawing can be a meaningful gift. Something that is just for them.
You can give them a workshop gift card for $19. They get a code and choose the workshop that fits where they are.
And if that someone is you, that counts too.
Give one, or keep one
Close the year with a workshop
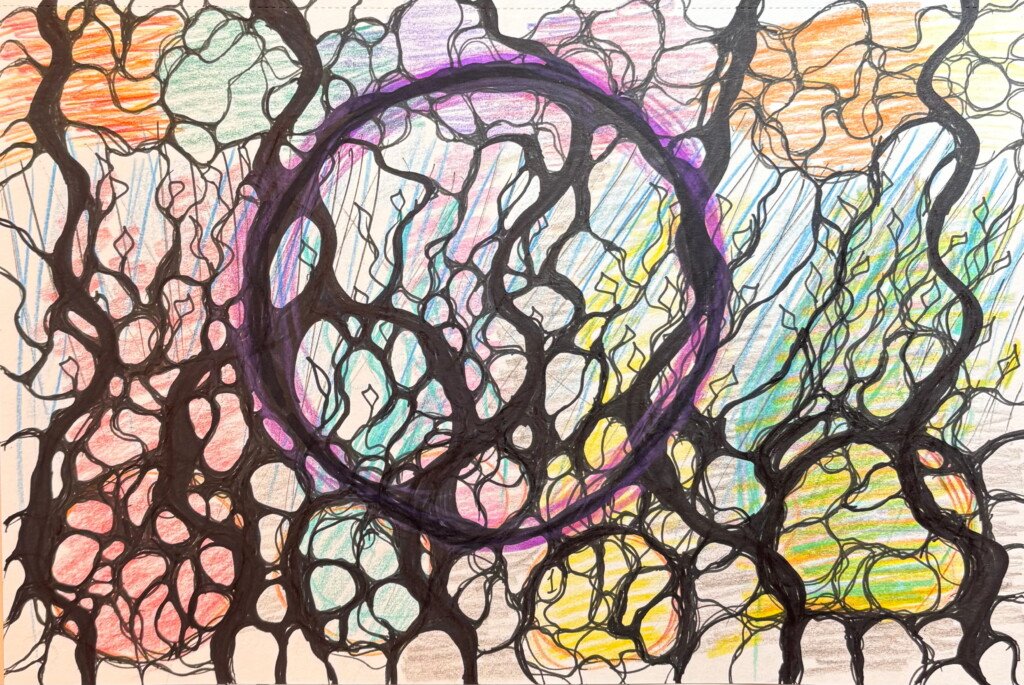 $19Recorded workshopShamanic RainTake what this year brought you and draw your next three months.Explore the workshop →
 $19Recorded workshopWheel Of LifeSee which area of your life needs you most, and what to change first.Explore the workshop →
 $19Guided drawingExpansion LotusSee where you are and where you are ready to grow next.See the details →
Shamanic Rain takes what this year brought you and helps you draw your next three months. Wheel of Life shows which area of your life needs you most. Expansion Lotus helps you see where you are ready to grow next.
All three are recorded, so you can do them at your own pace, on the sofa, in your pajamas, between Christmas and New Year.

Whatever you choose, start with the tree. It takes about an hour, and it tells you a lot about what you want next.
FAQ
How do you draw a Christmas tree easy, as a beginner?
Start with a soft triangle and a small trunk, fill it with slow lines, add a few ornaments and a star, round the sharp corners, then color it. You don’t need to learn to draw first, and there is no sketch to copy. It takes about an hour.
Is this Christmas tree drawing easy for beginners?
Yes. You draw simple lines and shapes, one step at a time, and every step is shown with a photo. No drawing experience is needed.
What is a neurographic Christmas tree?
It is a Christmas tree drawn with Neurographica, a drawing method that uses slow, flowing lines and rounded corners. The process tends to calm your attention, and you can use it to reflect on your year.
How do you color and shade a Christmas tree drawing?
Color the ornaments and gifts first, then fill the tree with two greens: darker near the trunk and edges, lighter in the middle. Leave small white gaps, and finish with a soft yellow glow around the outside.
How long does the Christmas tree drawing take?
About an hour from the first line to the last color. Go at your own pace. Slow is part of the point.
Can kids do this Christmas tree drawing step by step?
Yes. Kids usually love the ornaments and the coloring. Let them draw their own tree next to yours and share one ornament each when you finish.
Is this art therapy?
No. This is a calming creative practice and a personal development tool, not therapy or medical treatment. If you are dealing with ongoing anxiety or depression, please work with a licensed professional.
Your tree is waiting 🎄
Merry Christmas from my desk to yours.
You don’t have to make sense of the whole year tonight.
Draw one tree. Hang one ornament for what you want to keep.
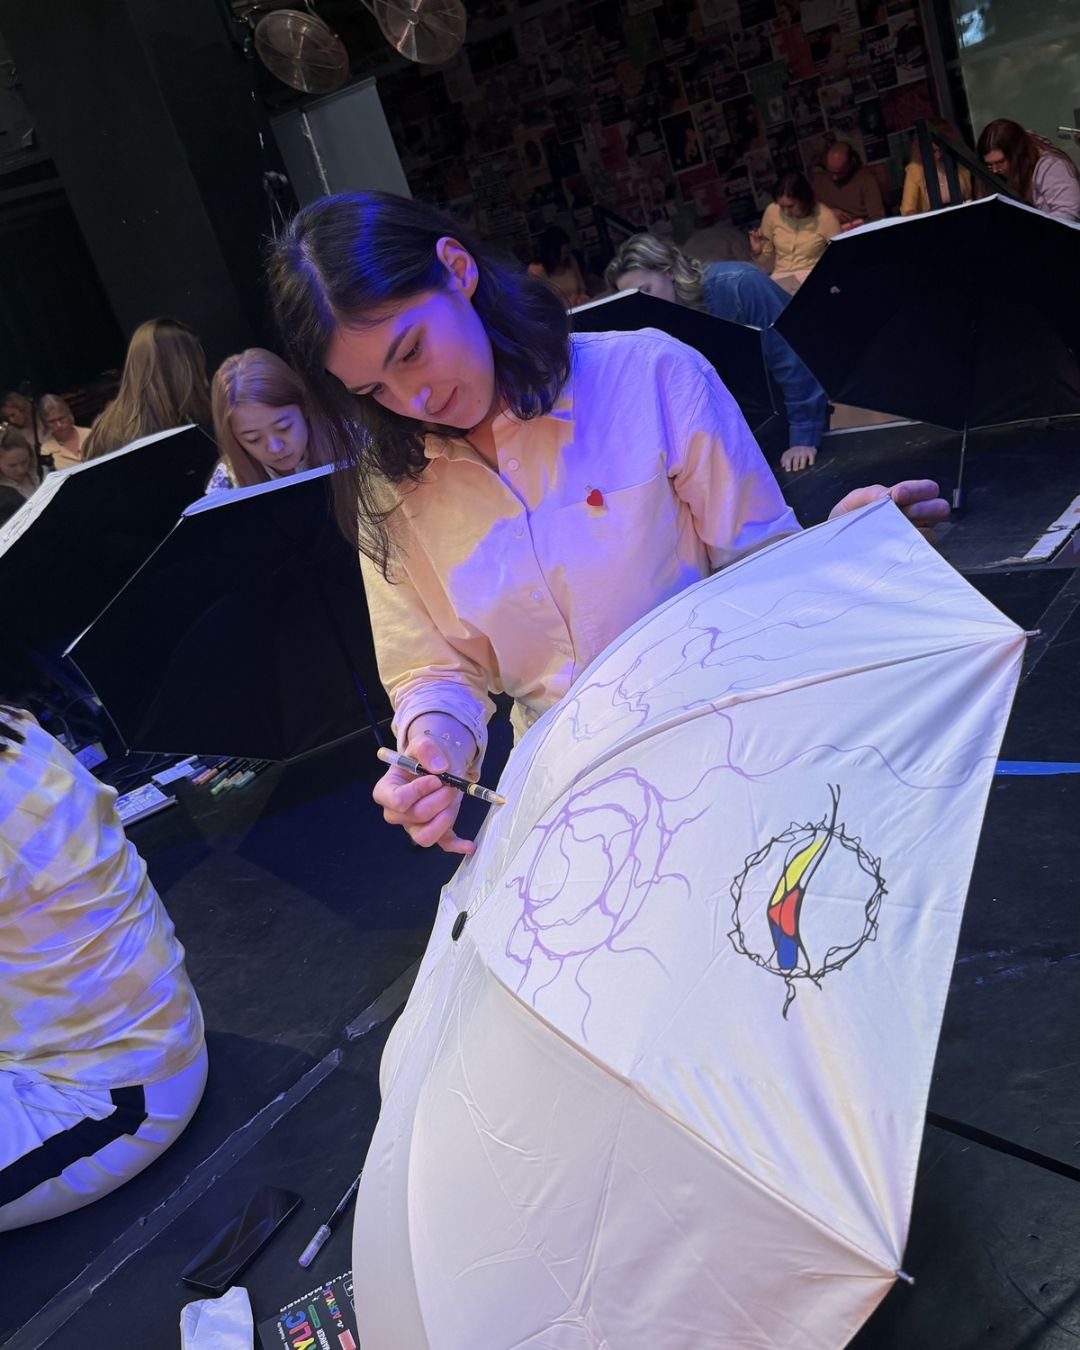
✨ If you’d like me to guide you, the free Neurographic Christmas Tree workshop is a free video, ready for you whenever you are.
Free workshop
Welcome 2027 with intention
Draw your own Christmas tree with me and let each part of it hold something you want to bring into the new year. Plain paper, a black marker and colored pencils. That's it.
Get the free workshop →